Creating a dynamic web page using Spring internalizr (Gradle), IntelliJ, and AWS EC2 - Step 1 Gradle project basic settings
0. Reason for setting up the development environment
I have previous experience creating web pages in the Eclipse and Maven environments, but I chose it because I wanted to try building web pages using Gradle and IntelliJ, which are currently being used by many developers.
1. Building Gradle project with Spring intializr
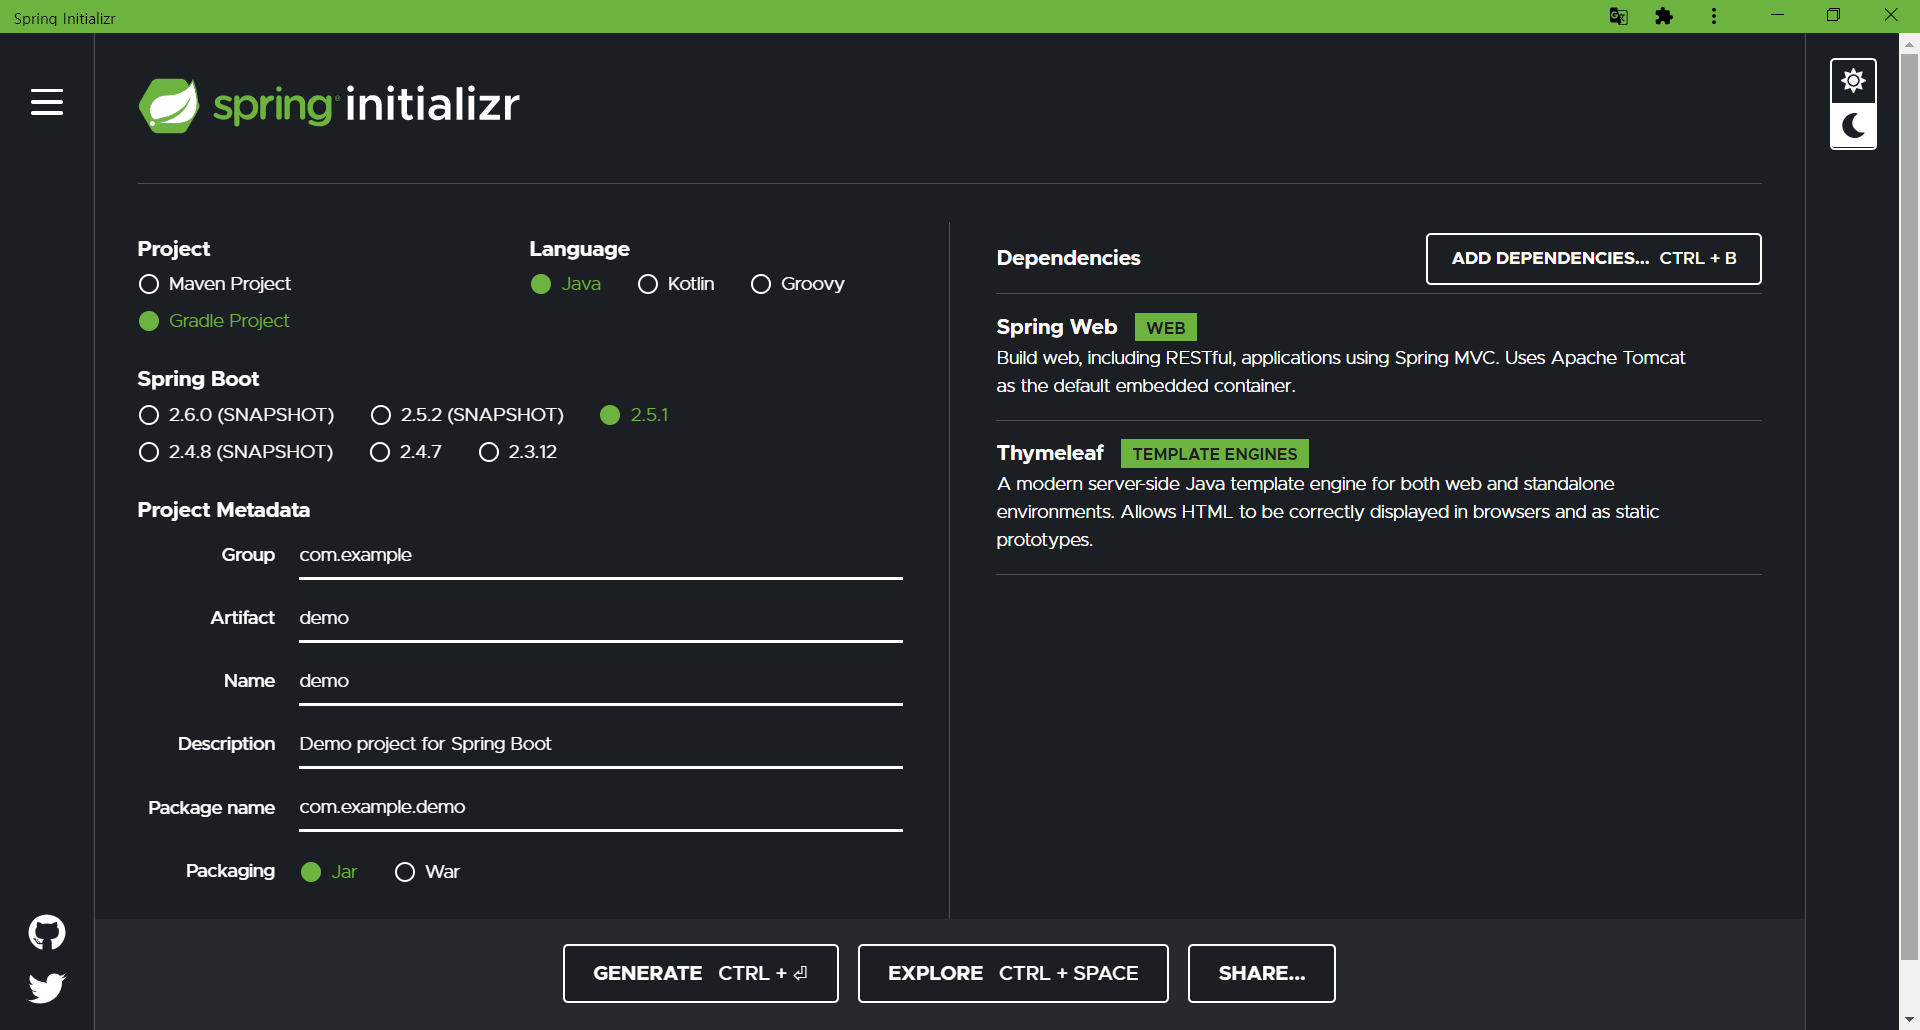
Create a Gradle project in Spring initializr. Select the language and select the latest version among the versions that do not have SNAPSHOT. Here SNAPSHOT is an experimental version, so pass.
(Managed as a build.gradle environment file in a Gradle environment, like pom.xml in a Maven environment)
You can set MetaData yourself. In the case of a company domain, set it like this in the group: com.example.web. In this case, since it is a portfolio, it is simply set to portfolio, and you can set the desired project name as the Artifact name.
Next, the Depandency part is needed to create a dependency library. Search for and add the desired library. Spring Web and Thymeleaf were added.
When the settings are complete, click the Generate button to import the downloaded file using Open or import in IntelliJ.
For Packing, select war because AWS EC2 Tomcat will be hosted later.
2. Open Gradle Project in IntelliJ
When opening, select build.gradle in the downloaded path. Once you select Open as Project, some setup time is required and the framework of the Gradle environment is built.
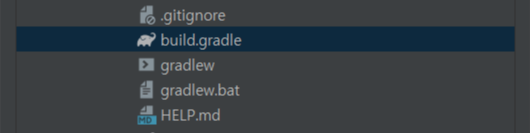
If you select build.gradle among the files, you can see that the version and dependencies selected in Spring initializr 1 are set. By default, the library can be downloaded from mavenCentral(), and you can change the download settings by changing the URL to a specific site.
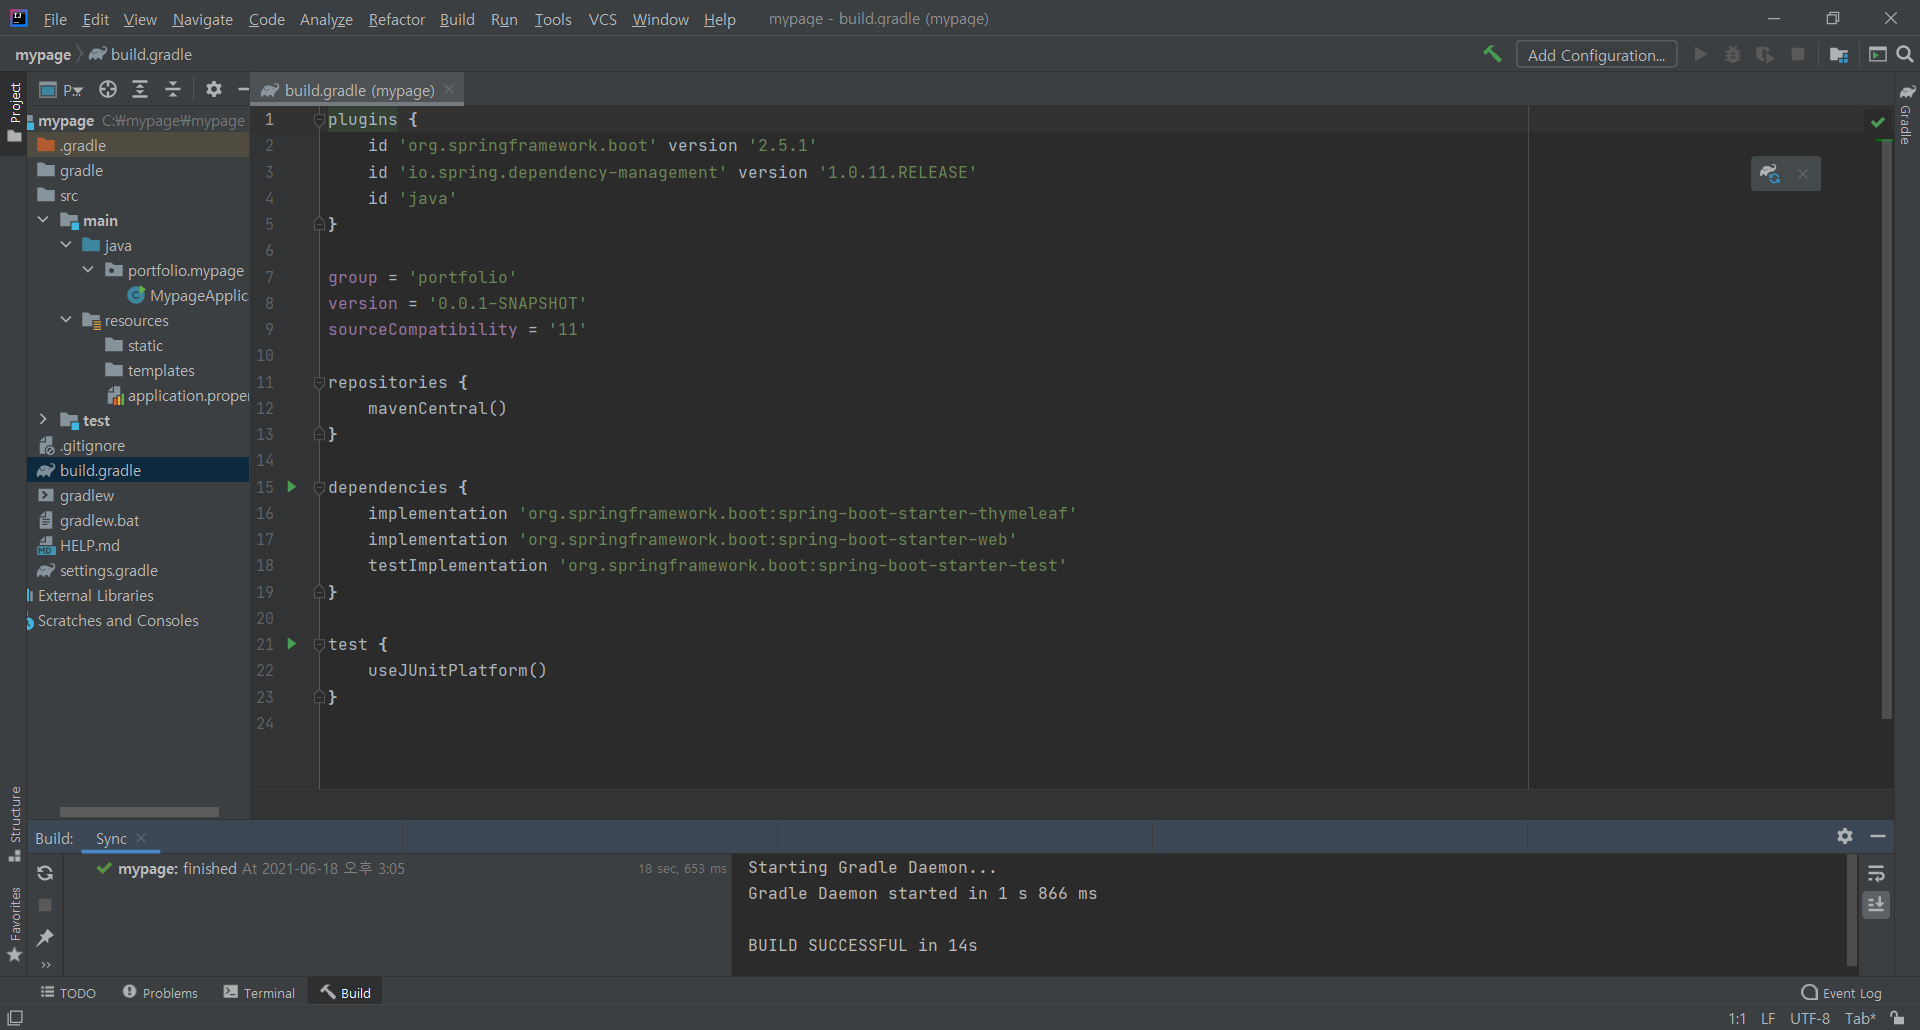
The class file in the src > main > java > folder has already been created, and the main method is executed here. Just select the green arrow on the left and run it.
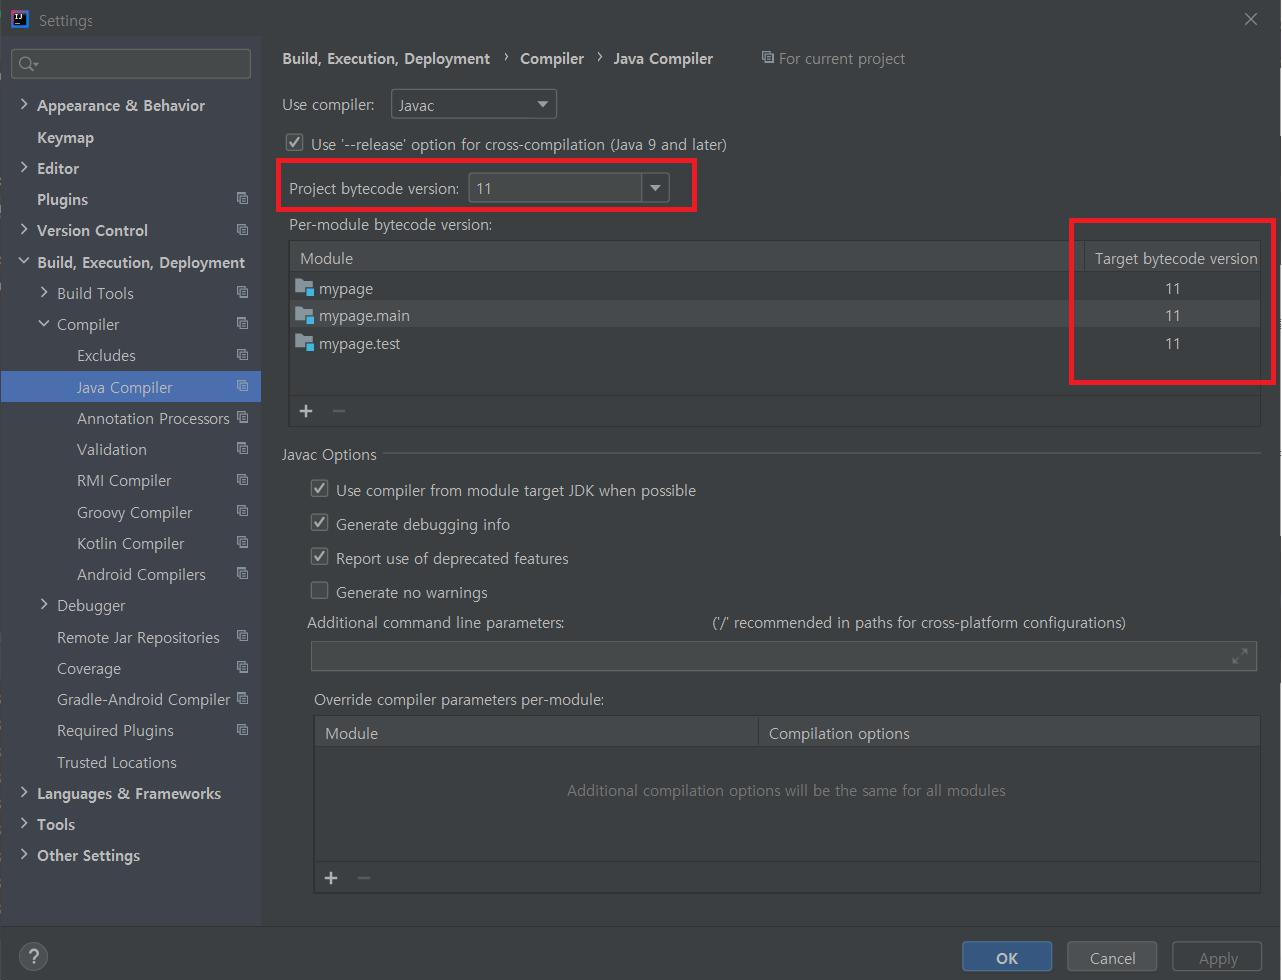
An error occurred in the process, so I need to catch it first and move on. If you look at the error window at the bottom, it says invalid source release: 11
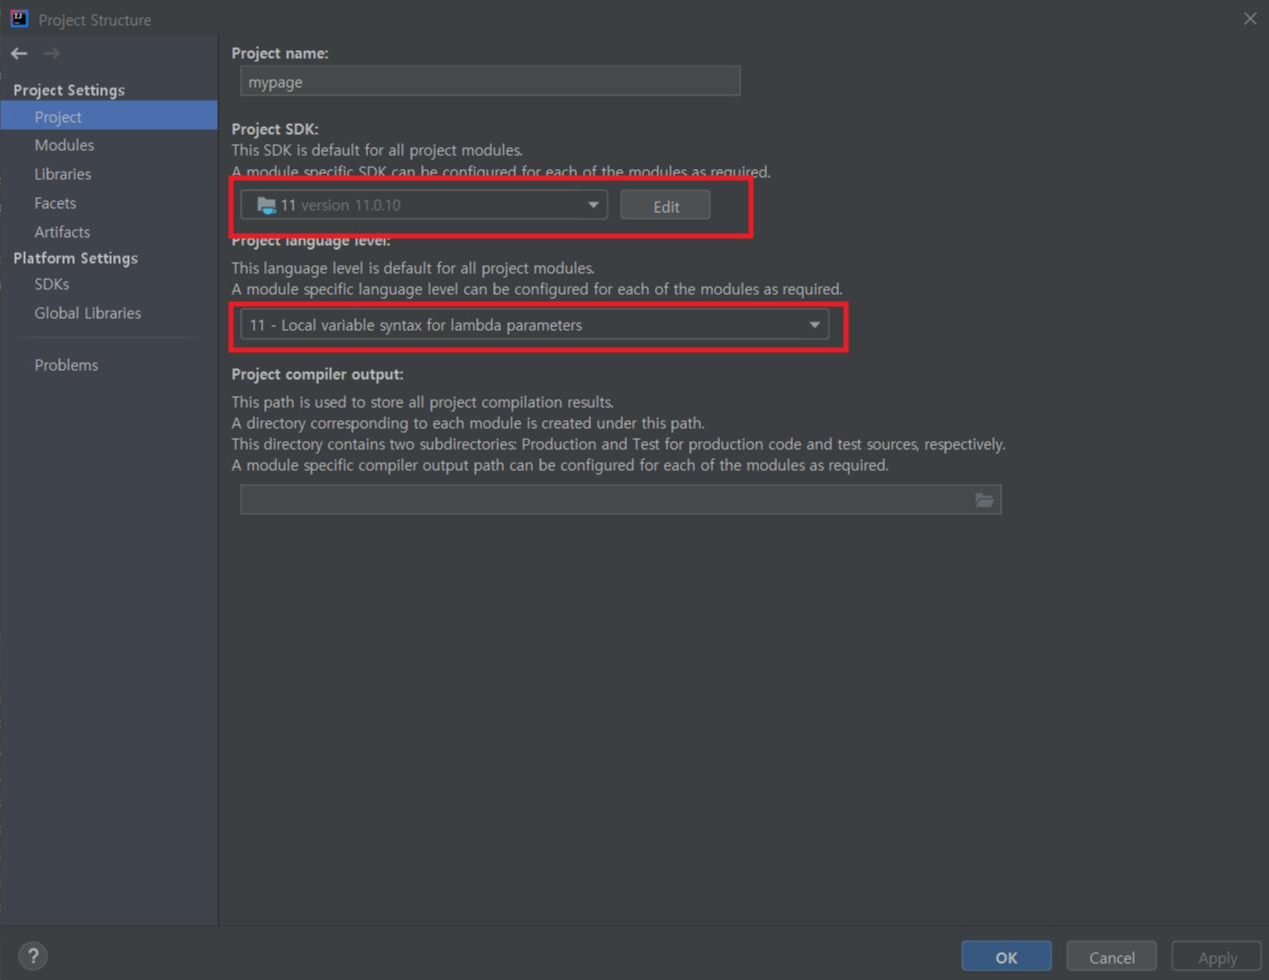
It says to try this, but the error occurs because the Java version is not set properly. In this project, Java version 11 was used, but the solution is the same even if you use Java version 8.

First, check the version settings in File > Settings above.
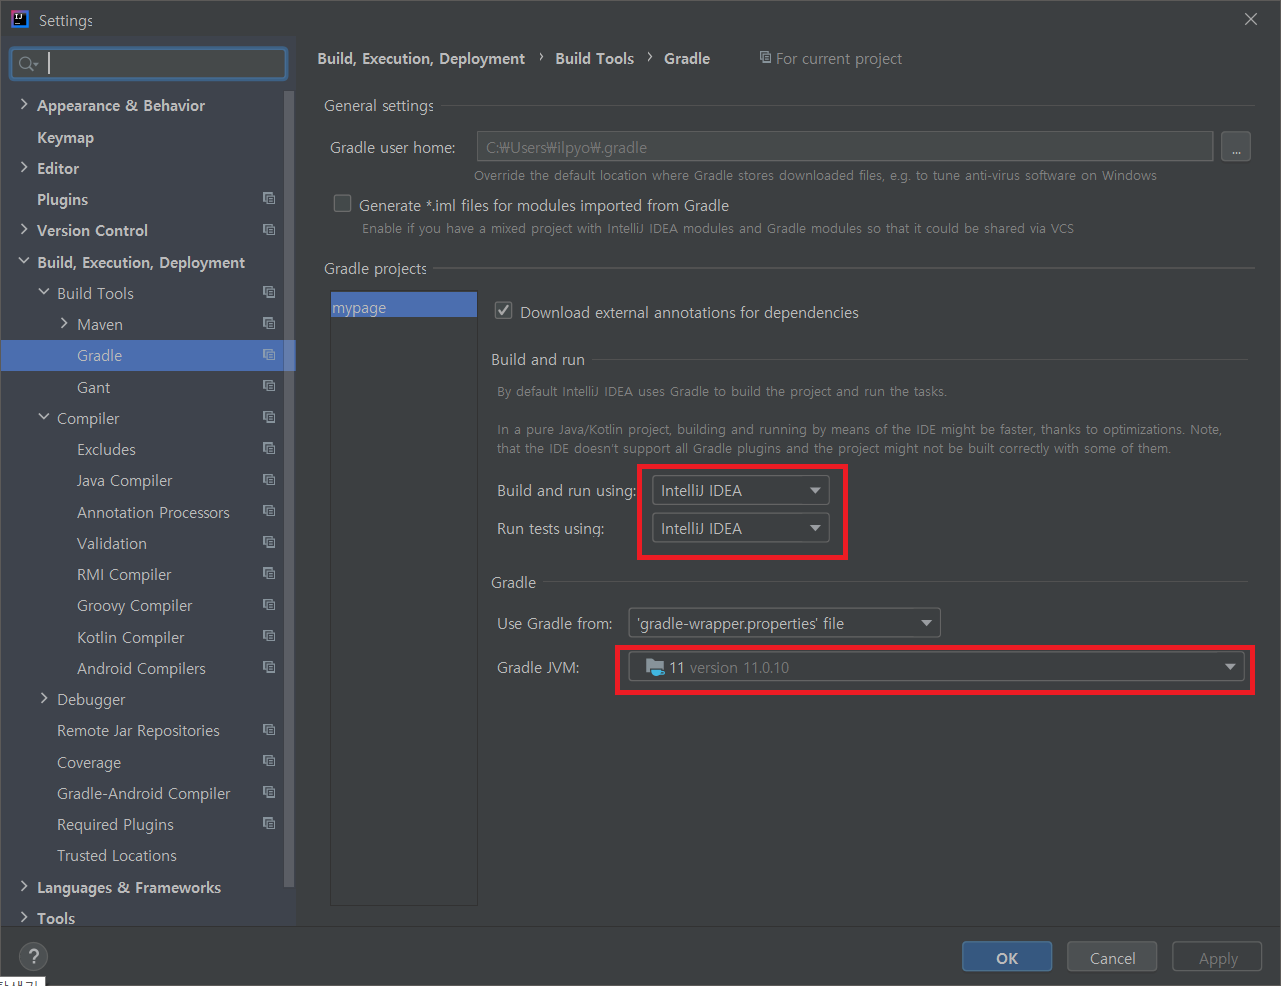
Next, check the version value in File > Project Settings > Project and match it with the jdk version you want to apply.
If it is set correctly, you will see SPRING appear in the result window as shown below.
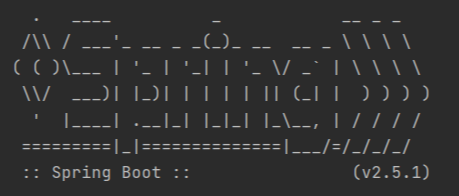
You can see Tomcat initialized with port(s): 8080 (http) displayed in the result window.
If you enter localhost:8080 in your web browser and the following page appears, the basic installation is complete!
There is no need to install a separate server because the Tomcat library is automatically installed in embedded format. (current development form)
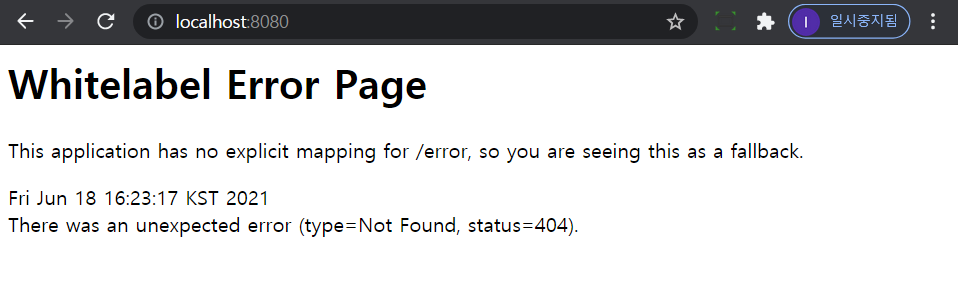
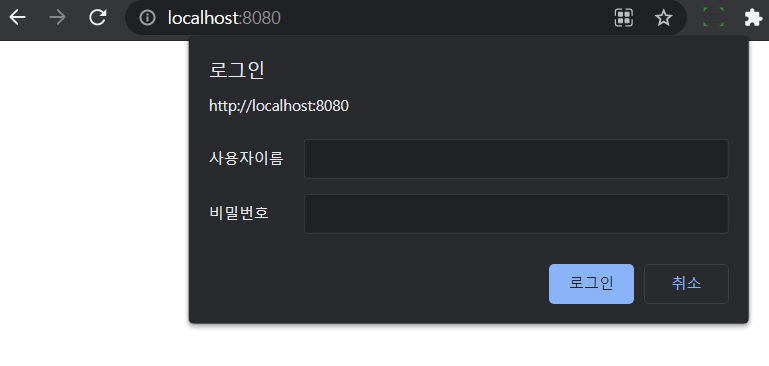
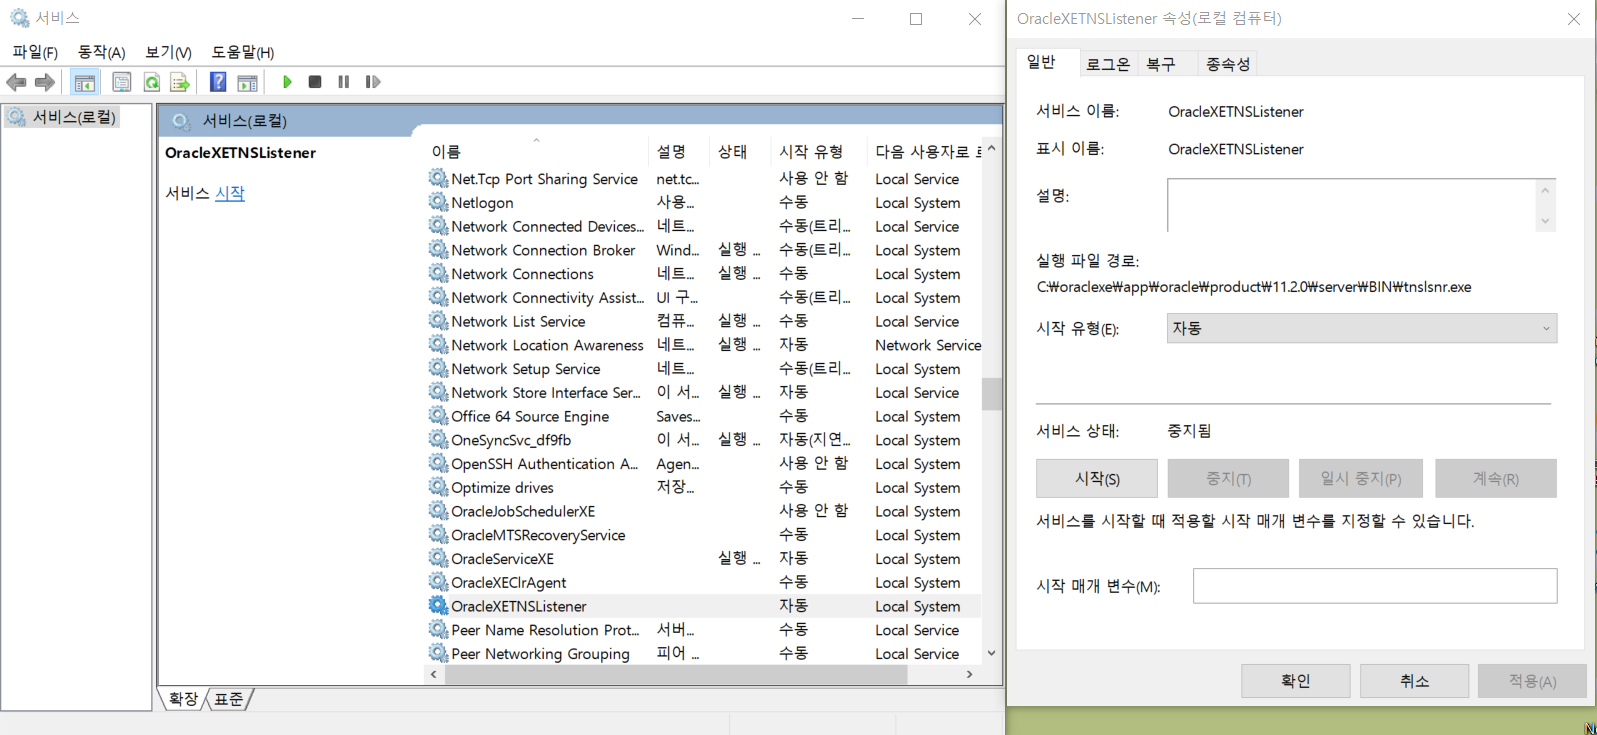
However, unlike above, a window asking you to log in like this may appear, because Oracle and Tomcat are installed on the computer. You can stop the Oracle DB service from Services on your computer.
| [Spring Boot] 인텔리제이(intellij)로 스프링부트 시작하기
Comments
No comments yet. Be the first!
164 posts in 테크
- 2233D Gaussian Splatting vs Unreal Engine: Two Ways to Build a 3D World — and Where Each One Ships
- 222LLMs Inside Unreal Engine: The New Skills Game Developers Need in 2026
- 220Living With Claude Fable 5: How the Most Capable Model Changes the Way You Actually Work
- 219Luma's Bet: From Video Generator to a Single Model That Thinks in Pixels
- 215The Best AI Video Models in 2026: Types, Differences, and Where This Is All Going