Creating a dynamic web page using Spring internalizr (Gradle), IntelliJ, and AWS EC2 - Applying Https in 9 steps
0. The need for HTTPS
The web page has been created to some extent, and for security purposes, an SSL certificate must be issued to enable https communication. Since you are already using the Route 53 service and have purchased an AWS domain, you can use ACM for free.
Here, the cost aspect must be considered. If you set up a certificate with instance load balance, the load balance incurs costs according to each setting region.
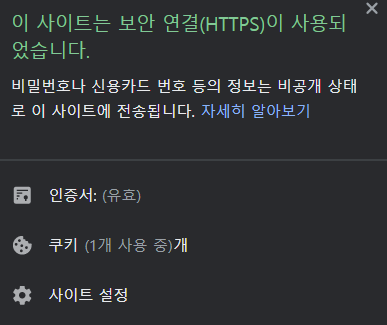
1. Obtain a certificate with ACM
Enter ACM, that is, Certificate Manager. Here, if you received SSL from Zerossl or a separate side, use 'Import Certificate', and if you want to issue ACM, go to 'Request Public Certificate'.
Step 1 Add domain name
Add the domain name you created. www. If you have also created a domain, please enter it additionally.
Step 2 Select verification method
You can choose the verification method, and email verification is simple. You can check the 5 steps of the DNS verification process.
Step 3 Add tags
It was not set separately. When Googling, I think I've seen cases where only the value value is set.
Step 4 Review and Request
5 steps verification
If you clicked DNS verification in step 2, you will need to create a record. Record names and values to be set for each domain are given in the Route53 hosting area. When setting here, the type is set to CNAME. After setting, you can see the verification in ACM.
+
The setting method is the same as previously described in the domain setting method.
Please refer to .
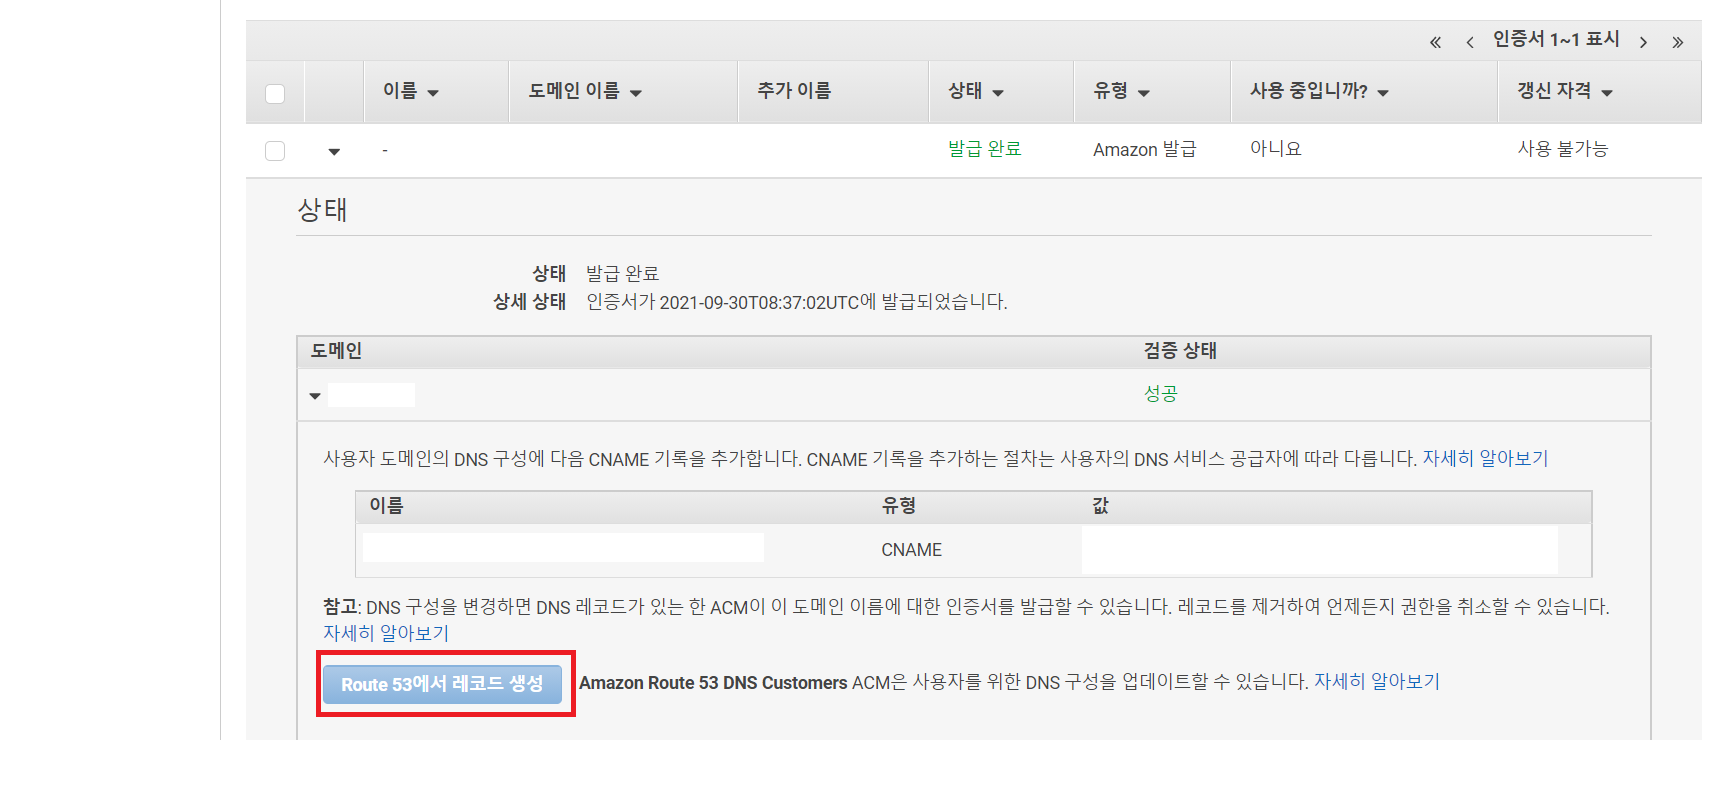
If you want to quickly see the completion of issuance in DNS verification, it is simpler and faster to apply the created CNAME value by pressing the "Create record in Route53" button in the value sub-content of ACM rather than doing it in Route53 record creation.
2. Create a load balancer
A load balancer functions to enable a server to consistently distribute multiple client requests. In AWS, you can create an HTTPS listener and specify the ACM certificate, so I created it.
In the EC2 instance bar, go to Load Balancing > Create Load Balancer. Here we select ALB (Application Load Balancer) for HTTPS settings.
Step 1 Configure Load Balancer
Give it a random name, add a listener, and create it on HTTPS 443 port. Since there is no separate VPC to use, leave it as default and select all availability zones. (Even if you don't select all, a message asking you to do so will appear.)
Step 2: Configure security settings
For the certificate, select the certificate from ACM and select the certificate name registered in ACM as it appears.
Step 3: Set up a security group
Creates a new security group. Since there is no need for a security group with an existing port registered (created when creating an instance), when a new security group is created, security groups for ports 80 and 443 are automatically created. Leave the defaults and go to the next step.
Step 4 Configure Routing
Here too, you can set a random name, and if you want to change the path for the status check part, just specify a new path. For this project, no separate settings were needed because it was specified as the default path (/).
Step 5 Target Registration
If you look at the instance below, there is a server where you uploaded the project, so select it and make sure to click the Add to registered items button so that it appears in the registered targets.
+ 503 Service Temporarily Unavailable
When registering a target, if you just select the checkbox in front of the registered item without pressing the Add button, a 503 error page will appear after all settings are completed.
Step 6 Review
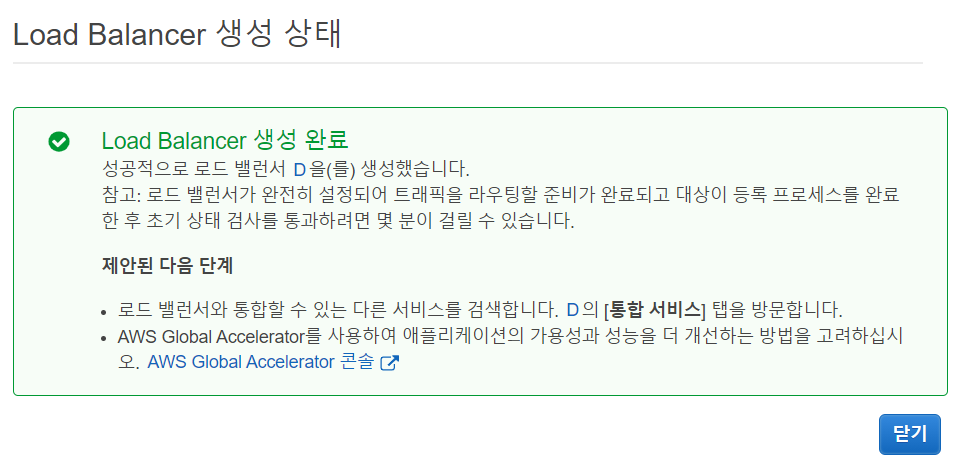
If you check that the registered load balancer details are correct and click Next, the creation completion screen will appear.
3. Change your connection via http to https! Handling redirects
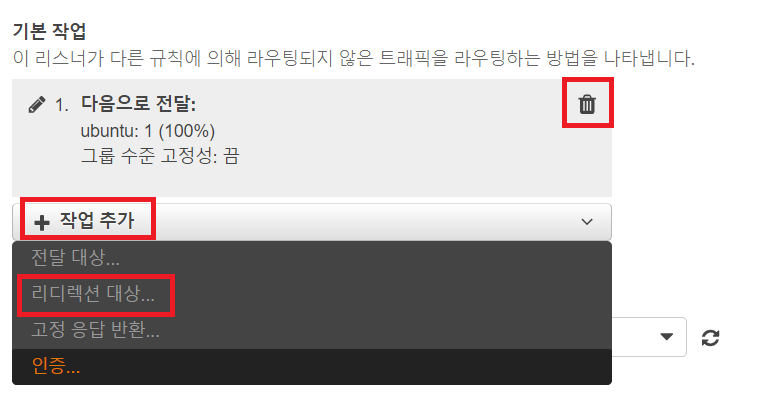
You must process the redirection in the listener to automatically change http to https to be able to access it.
If you click on the created load balancer, the details below will appear. Here, edit HTTP:80 in the listener. If you delete the existing task in Edit and add a task and set the redirection target > HTTPS 443 port value, you can see that the redirection is set again on the listener detail page.
4. Edit record type A
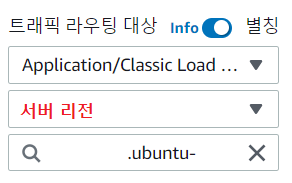
After creating a load balancer, you now need to connect it to Route53. First, you need to modify the record A type that connected the instance elastic IP in the record settings. In record editing, delete the traffic routing target (instance elastic IP) and activate the alias. Then, select the ALB, server region, and created load balancer and save it. Here, of course, you need to change the domain record settings added to www. https setup complete!
AWS ELB https 설정 [두원공과대학교 메카트로닉스공학과 김동일교수] 6.1.10
AWS ELB 생성 및 ACM 인증서 EC2에 적용하기
[AWS] HTTPS 통신을 위한 SSL 인증서 발급하기 (Route 53, Certificate Manager, Load Balancer)
AWS How to apply SSL (HTTPS) - Apply SSL ELB(3)
How to install free SSL certificate hosting (Ubuntu, Apache2)
Comments
No comments yet. Be the first!
164 posts in 테크
- 2233D Gaussian Splatting vs Unreal Engine: Two Ways to Build a 3D World — and Where Each One Ships
- 222LLMs Inside Unreal Engine: The New Skills Game Developers Need in 2026
- 220Living With Claude Fable 5: How the Most Capable Model Changes the Way You Actually Work
- 219Luma's Bet: From Video Generator to a Single Model That Thinks in Pixels
- 215The Best AI Video Models in 2026: Types, Differences, and Where This Is All Going